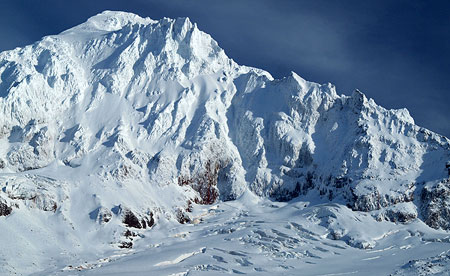
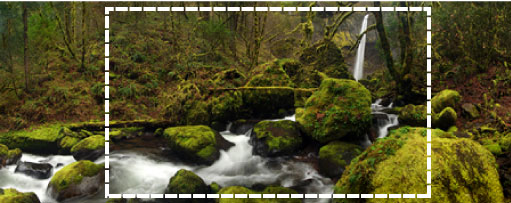
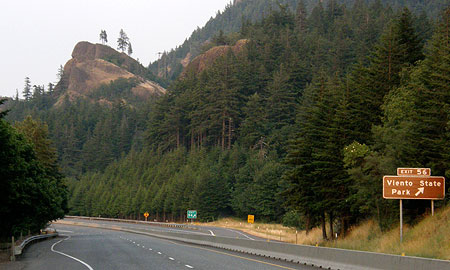
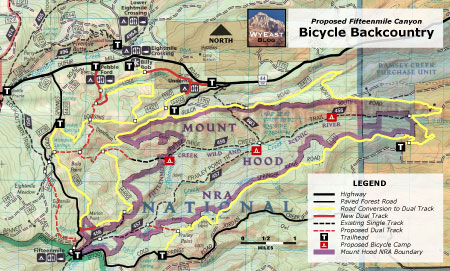
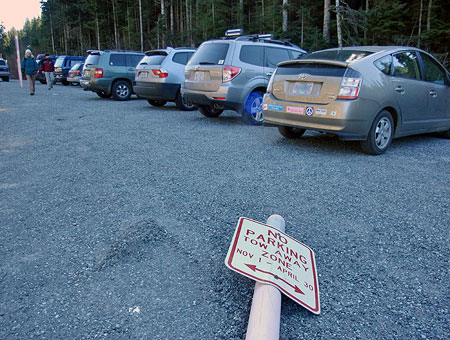
Mount Hood Meadows is seeking yet another overflow parking lot for the resort, its fourth, bringing the resort capacity over 3,500 vehicles
On January 13, the Mount Hood National Forest (MHNF) issued its final environmental assessment for yet another sprawling parking lot at the Mount Hood Meadows ski resort. This is the just the latest decision over nearly 50 years of always finding a way to say “yes” to the private permit holders who operate the Meadows resort on our public lands.
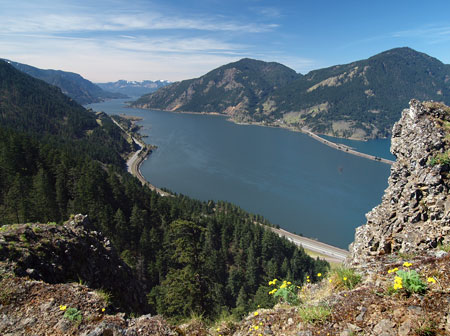
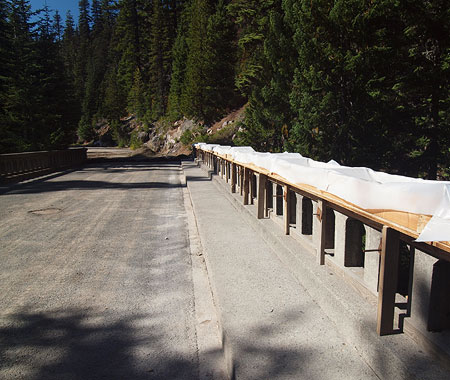
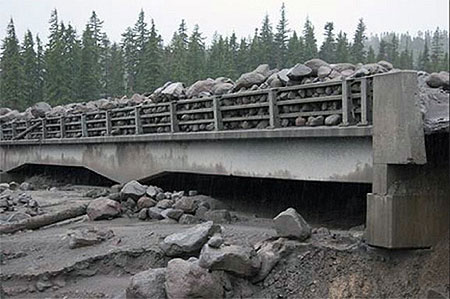
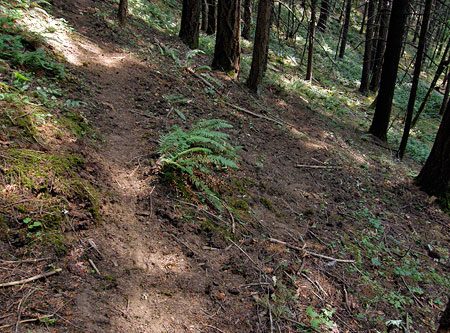
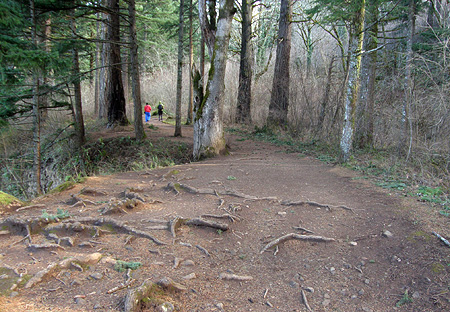
According to MHNF documents, the proposed new “Twilight” lot will require 9.4 acres of subalpine forest adjacent to the popular Elk Meadows Trailhead to be logged, then paved over by the Meadows resort, allowing for 878 new parking spaces on a new 7.2 acre asphalt lot. Translated to urban scale, that’s another seven full Portland blocks of forest that will be replaced with paving simply to meet peak winter weekend demand.

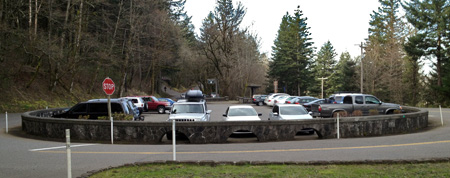
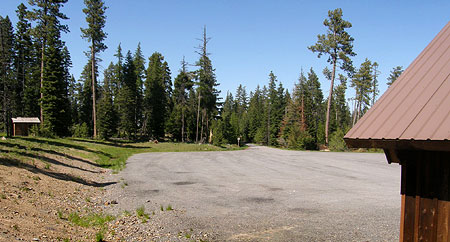
Meadows parking lots are mostly empty outside of a few weekend peaks from December through February. This photo was taken on a sunny Saturday in March, 2009 at the huge Hood River Meadows lot. The tiny structure on the right is the Nordic Ski Center, for scale. Only about a third of the sprawling lot can be seen in this photo
Using Forest Service data, the Twilight proposal translates into roughly 7,500 noble fir, mountain hemlock, Lodgepole pine and other subalpine conifers being cut to bring the overall parking capacity for the Meadows resort to a whopping 3,526 vehicles.
How much parking is this? For comparison, a typical Walmart Supercenter has about 800 parking spaces — which means the total Meadows parking capacity could accommodate four Walmart Supercenters. Another comparison: the new Meadows parking total will be slightly more than the 3,300 spaces Portland International Airport (PDX) provides in its newly expanded day parking structure at the main terminal (see an earlier article on this blog for more details on the Twilight proposal).
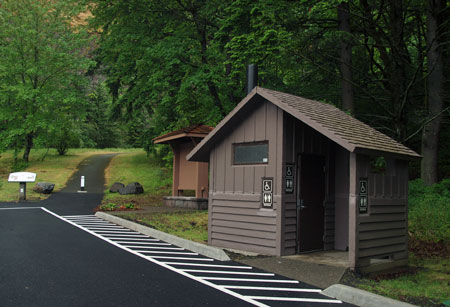
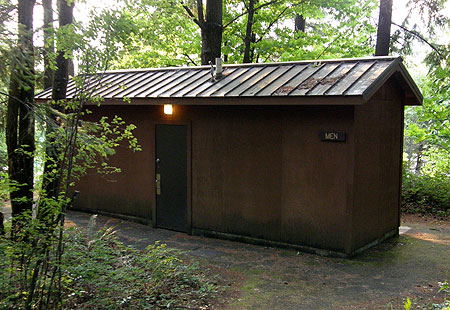
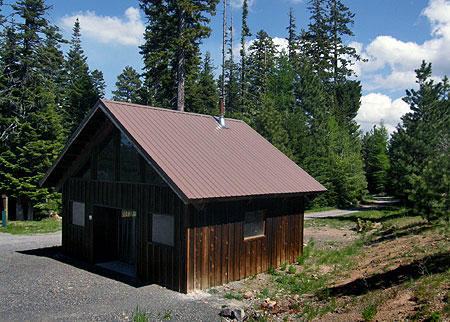
Meadows also plans to move its Nordic Center — currently a non-descript modular building located at the back of the sprawling Hood River Meadows lot — to the new Twilight Lot in an effort to better compete with the non-profit Teacup Lake Nordic Club, located across the Loop Highway.

The humble Meadows Nordic Center is overshadowed by the very popular Teacup Lake Nordic Club facilities located across the highway
Is this latest expansion justified? Not if you dig into the details. The folly in the MHNF decision is that it is based on an outdated special permit granted in 1997 by the Forest Service that gives the Meadows Resort their legal ability to operate a private business on national forest land.
But it turns out that almost no current data on the future of the ski industry supports this decision — including data from the ski resort industry, itself. Instead, this proposal is mostly about the Meadows resort attempting to buck the national trends by drawing skiers and boarders away from competing resorts at Timberline and Mount Hood Ski Bowl.
While this strategy might make sense for Mount Hood Meadows, Inc., it hardly makes sense as public land policy, and especially for taxpayers who subsidize the ski resorts.

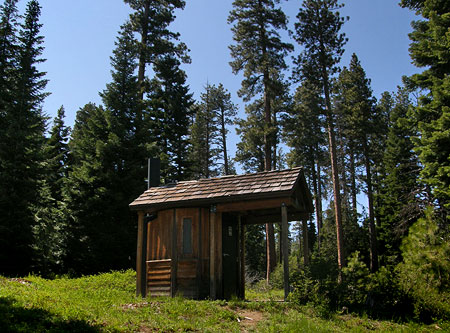
The Meadows for-profit Nordic trail system has struggled to compete with the nearby Teacup Lake Nordic Club’s larger and more affordable system
The recent Forest Service decision giving the green light to the Twilight parking expansion also fails to consider the most obvious solution: requiring Meadows to spread out their customer demand with peak ticket pricing. This is the simplest way to avoid overbuilding parking lots and overburdening the Loop Highway, and would make the best use of the Meadows resort capital investment and operations costs.
So, why is Meadows opting for a more costly option to addressing peak ski weekend demand? Read on…
Past is Prologue! (…except when it isn’t…)
For more than a century, ski resorts across the country have long promoted the inevitability of their rapid growth as part of the advertising pitch, and yet they have a troubling secret in common: snow sports that were once growing exponentially in popularity are now flat or declining, nationally. And this trend has continued for decades.
Instead, most of the touted “growth” at major resorts in the past 30 years has come through consolidation. At the beginning of the 1980’s, there were some 727 ski resorts in operation, nationwide, yet only 480 ski areas survive today. This represents a decline of 33 percent, despite a hefty 36 percent increase in the U.S. population for the same period.

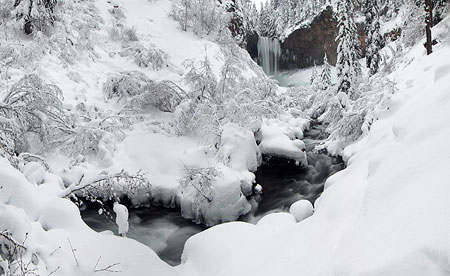
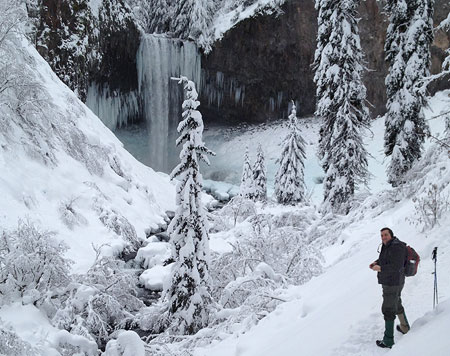
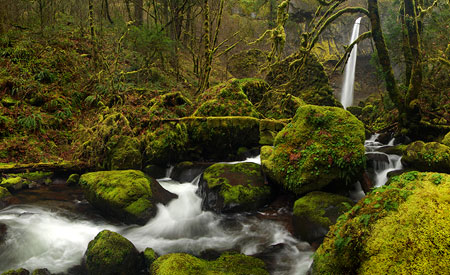
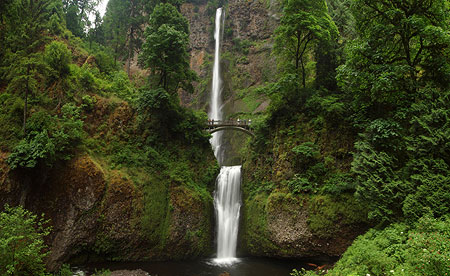
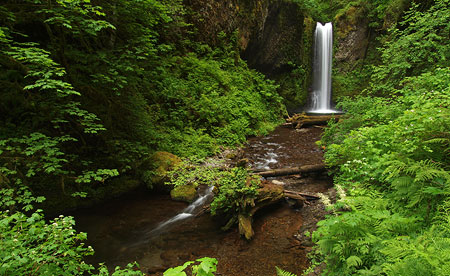
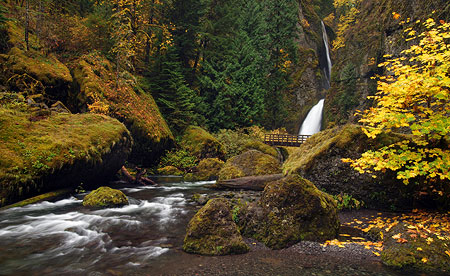
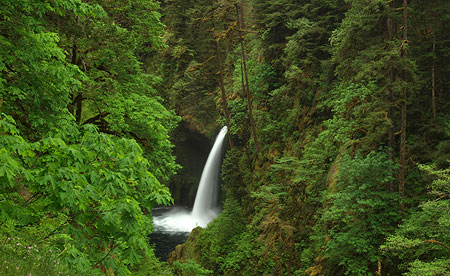
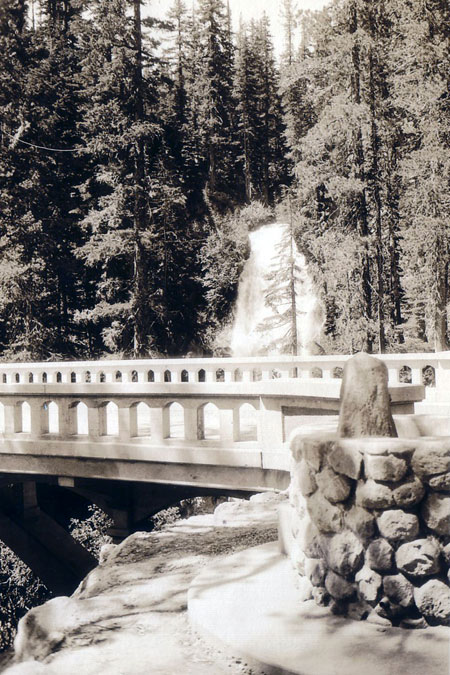
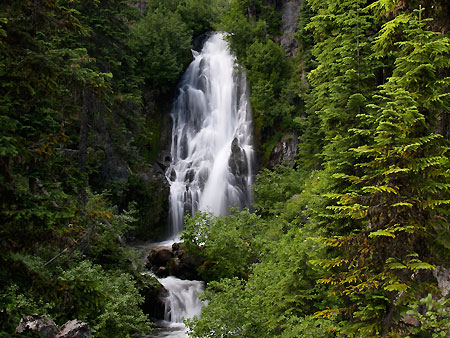
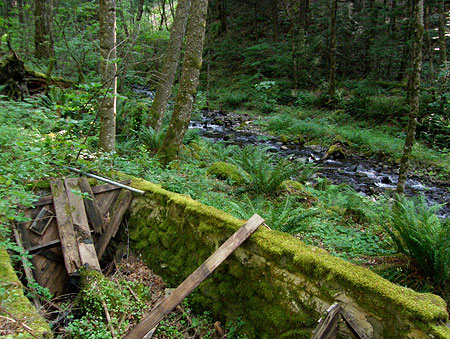
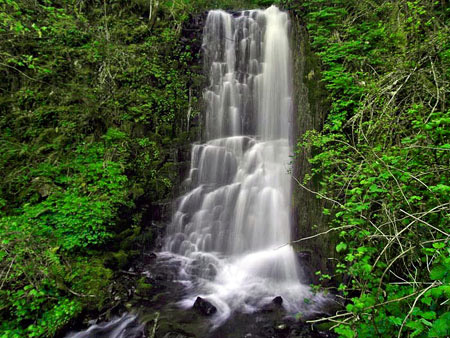
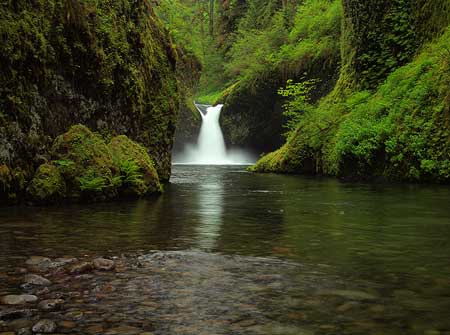
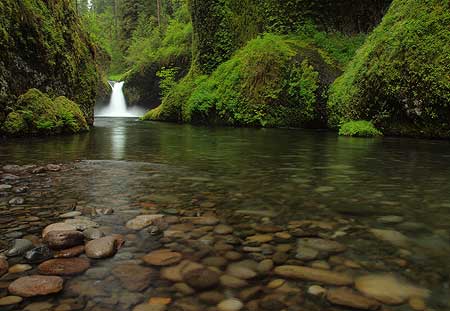
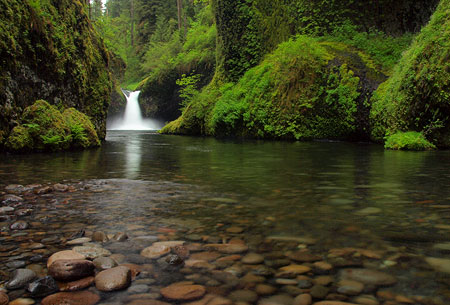
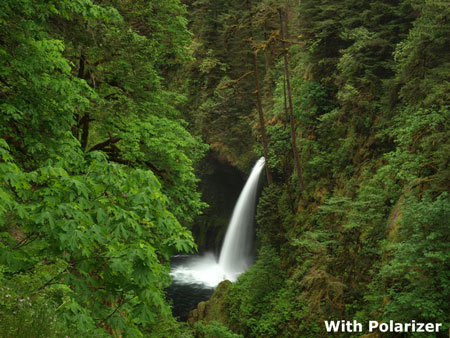
Beautiful Umbrella Falls was barely spared by the original Meadows parking lot (just a few yards beyond the trees at the top of the falls), though it still carries the burden of being in a ski area: trash and blown gravel fill the stream after the snow melts
This decline also helps explain why all three major resorts on Mount Hood are looking to develop other attractions under their public lands permits to help sell lift tickets — most recently, the proposed bicycle play park at Timberline (Ski Bowl has already developed one that it now plans to expand).
Why the decline? A variety of factors are at work, not the least of which are the effects of climate change on snowpack and the ballooning price tag that has increasingly made skiing a sport for the affluent.
In study last year, the National Ski Areas Association (NSAA) reported that 54 percent of day visits came from households earning more than $100,000, a 12.5 percent increase among affluent skiers from just five years ago. Conversely, visits from households earning less than $100,000 dropped from 52 percent to 46 percent, an 11.5 percent drop for less affluent skiers over the same period.
This trend is not surprising when you consider that an annual pass at Meadows costs around $800 and day passes cost $74 for an adult ticket — and these are relatively affordable prices compared to premier Rocky Mountain and California resorts. Add the costs of gas and equipment, and it can cost a family hundreds of dollars to spend a day skiing on Mount Hood.

This chart shows the relatively flat trend in total U.S. ski visits from 2002 to 2012, and an abrupt dip in 2011-12 reflecting the fourth warmest winter since 1896 (Source: NSAA)
In 2008, the NSAA produced a study that had more ominous implications for the industry: they found that 85% of beginners who try skiing soon drop out of the sport, translating into only a 15% rate of “conversion” from beginner to regular skiing and snowboarding customers.
In response to this troubling finding, the industry adopted dual goals of (a) improving the total number of people trying the sport by 6 percent and (b) increasing the “conversion” rate from beginner to regular visitor by 1 percent per year. Despite industry efforts to meet these targets, in the six years since these goals were established the rate of new skiers staying with the sport has only increased by only 1 percent, far short of the retention target.
But there is even worse news in the NSAA findings: it turns out the existing base of regular skiers and boarders have also shown a decline in interest, with the rate of repeat resort visits from this core group decreasing by 6 percent since the industry targets were set in 2008.
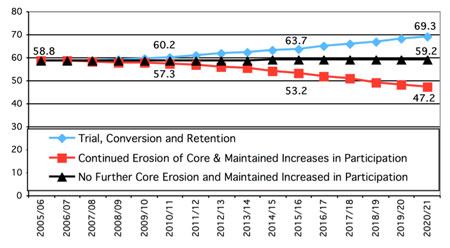
This chart shows high-stakes future for skiing in the U.S., with the optimistic NSAAs growth strategy in blue and grim reality of current trends in participation in red (Source: NSAA)
While the resorts continue to fight the overall drop in visitors, they are also battling the elements. Climate change is producing an increasingly erratic snowpack across the country, but especially in the West, where resorts are largely built with special permits on public lands. Larger resorts are spending as much as $50k apiece for snow guns to create their own snow — with some resorts installing hundreds of snow guns to ensure a ski season.

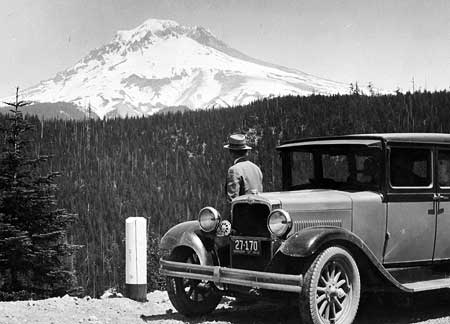
Skiers were already overflowing the Timberline parking lot in 1939, just two years after the lodge opened
With the obvious environmental implications of snow making aside — and they are significant — the added cost burden for the resorts will only increase the price of skiing when the costs of snow making equipment, water and the energy needed to pump water uphill are passed along to skiers.
Given these discouraging national trends, are there better solutions to meeting peak ski resort demand at Mount Hood other than to continue paving over the alpine landscape?
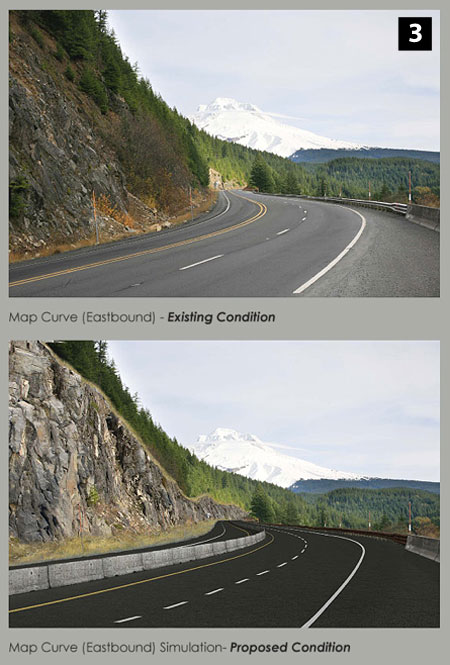
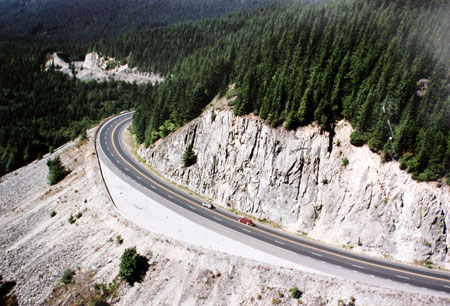
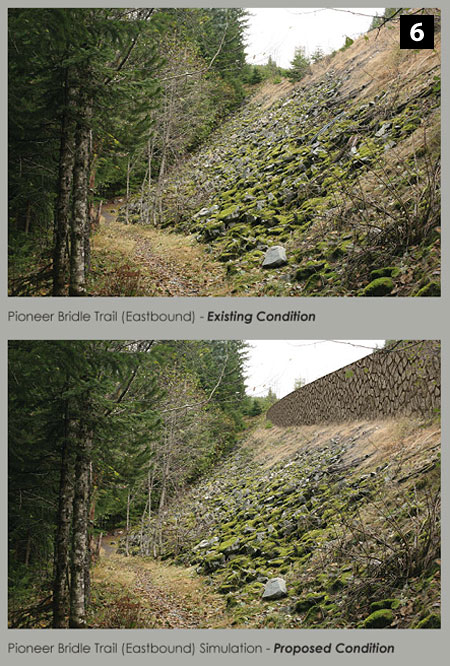
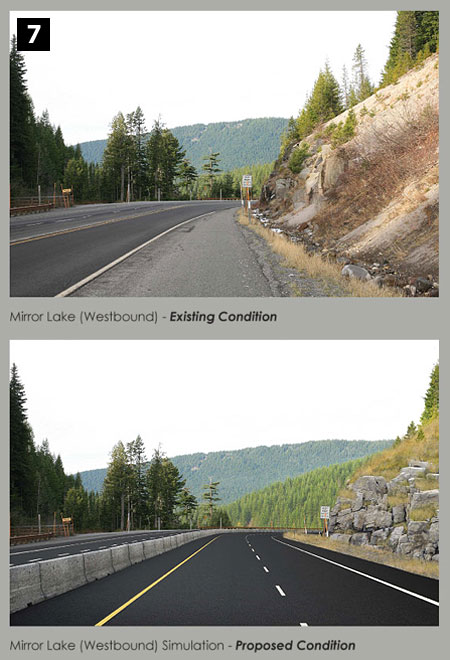
This question will be the focus of Part 2 this article, and a new effort by the Oregon Department of Transportation to better manage traffic on the Loop Highway.
_________________
Author’s Note: lest readers think I’m anti-skiing, I am decidedly not. I grew up skiing at Mount Hood from the age of six, and skied at all four resorts on the mountain well into the 1990s, when I shifted to snowshoeing and Nordic skiing. I love the sport, and hope that Mount Hood will always have alpine skiing. But over the past few decades, I have watched the Meadows and Timberline resorts grow too large to be environmentally sustainable.
The Heather Canyon lift at Meadows was the wake-up call for me in the 1990s — and before that, the Palmer Lift at Timberline. Both were a notch too far in what — in my view — had been a reasonably sustainable balance between ski development and protecting the natural landscape of Mount Hood.

The author (center, at the tender age of 11) on a memorable 1973 ski vacation near Innsbruck, Austria with my family
I also see the current model for commercial ski resorts failing, and worry that the grasping for quick solutions to balance the corporate books is out of sync with what could be sustainable, positive ways to diversity the resort offerings.
Watch for future WyEast Blog articles on this subject, as I not only believe that ski resorts can (and must be, in Mount Hood’s case) continue to operate within a National Park, I also think they could set the standard for environmental and economic sustainability that other resorts might learn from.